Top 10 Stained Glass Window Kits for Beginners?
Learning stained glass can begin with a small sun catcher, not a full cathedral panel. This guide introduces ten beginner-friendly options and explains what each one actually offers. A quality Stained Glass Window Kit should include clearly labeled glass, reliable patterns, copper foil, lead-free alternatives, and understandable instructions. However, beginners often overlook workspace needs. A dining table is not automatically a safe craft station.
The selection considers project size, cutting difficulty, tool quality, instructional support, and the time required to finish each design. It also considers whether replacement materials are easy to find. These details matter when a pattern includes tight curves, thin glass, or several solder joints. Kits from established craft suppliers usually provide clearer specifications and safer handling guidance. Still, brand reputation cannot replace careful inspection. Check the glass, flux, solder, and protective equipment before starting.
Some recommendations may suit a patient learner, while others fit someone wanting a weekend project. That difference is important. My own evaluation favors kits that teach technique, rather than merely producing a decorative result. A beautiful pattern can still frustrate a first-time maker if the instructions skip foiling or solder control. No kit is perfect. Consider this guide a practical starting point, then compare current contents, measurements, and safety advice before purchasing. With realistic expectations, beginners can choose a manageable design and build confidence one piece at a time.
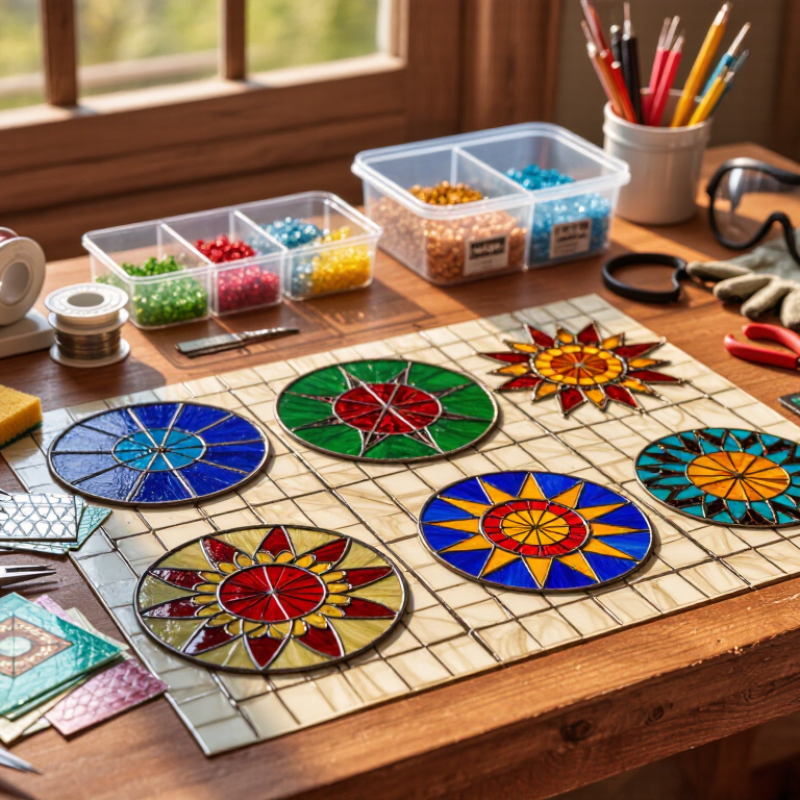
What Are Stained Glass Window Kits for Beginners?
A stained glass window kit for beginners is a guided set for making a small decorative panel. It usually includes a pattern, pre-cut or scored glass, copper foil, solder, and basic instructions. Some kits also provide a glass cutter, grozing pliers, flux, and polishing materials. Always check the contents before buying. A missing tool can interrupt the project quickly.
The usual process involves fitting glass pieces, wrapping their edges with copper foil, and joining them with heated solder. This requires patience and controlled hand movements. A beginner-friendly kit should use simple shapes, clear diagrams, and manageable panel sizes. Small projects help. They are easier to hold and less frustrating during assembly. Choose smooth curves and fewer pieces for a first attempt. Detailed designs may look attractive, but they can demand advanced cutting skills.
Safety deserves equal attention. Wear protective eyewear and closed shoes when cutting glass. Work on a stable table, keep children away, and maintain good ventilation during soldering. Heat-resistant surfaces are essential. Never touch freshly soldered seams with bare fingers. From practical experience, uneven foil placement often causes lumpy seams. It is annoying, but useful feedback. Beginners should expect small flaws and inspect each joint carefully. A reliable kit teaches technique, not just decoration. Check whether the instructions explain tool handling, solder temperature, and safe cleanup before starting.
How to Choose the Right Beginner-Friendly Stained Glass Kit
Choosing a beginner stained glass kit starts with your workspace, not the picture on the box. A 2024 Grand View Research report estimated the global arts and crafts market at about USD 46.5 billion in 2023. That growth reflects wider interest in hands-on hobbies, but many kits still assume basic tool knowledge.
Choose a kit with pre-cut glass, copper foil, a stable soldering iron, flux, pattern paper, and clear instructions. Pre-cut pieces reduce cutting errors and help beginners focus on fitting and solder control. Check the glass edges carefully. They should feel smooth, not dangerously sharp. A temperature-controlled iron is worth considering because inconsistent heat can loosen foil or create weak seams. My first project used a fixed-temperature iron, and the solder pooled unevenly. It looked acceptable from a distance. It was not.
Safety details matter more than decorative extras. Look for eye protection, heat-resistant work guidance, and ventilation instructions. If solder is included, check its composition and handling requirements. The U.S. Consumer Product Safety Commission has repeatedly highlighted the need to reduce children’s exposure to lead-containing products, so lead-free materials may suit family learning spaces better. They can be less forgiving, though. A beginner may need more practice.
Read the project dimensions before buying. A small geometric panel is easier to support than a large curved design. Confirm that replacement glass and consumables are available. Some kits seem complete but omit cutting oil, polishing supplies, or protective gloves. That missing detail can interrupt the project halfway through.
Top 10 Stained Glass Window Kits for Beginners
Top 10 Stained Glass Window Kits for Beginners
The best stained glass window kits for beginners should make each step clear and manageable. In beginner workshops, I look for copper foil, pre-cut glass, safe pattern guides, solder, flux, and simple instructions. The top ten useful kit styles include a sun catcher, geometric panel, floral design, small bird, mirror frame, night-light, terrarium, seasonal ornament, practice sampler, and solder-free panel. Each project teaches a different skill without demanding a large workspace.
Choose pre-cut pieces with smooth edges and visible color labels. A compact geometric kit is often easier than a detailed flower pattern. Check whether the package includes safety glasses, gloves, foil, and a suitable soldering iron. Some kits provide tools but explain them poorly. That can frustrate a new maker. I once underestimated how much time edge fitting required. The glass looked simple, yet tiny gaps changed the final shape.
Tips: Work on a stable, heat-resistant surface. Wear eye protection and keep ventilation moving. Test the soldering iron on scrap glass before touching the project. Do not rush the foil seams. Uneven copper tape can create weak joints and visible bumps. Beginners should also inspect the instructions for accurate measurements, clear safety guidance, and realistic project times. A small kit may still take several quiet evenings. That is normal.
Essential Tools, Materials, and Safety Considerations
Top 10 Stained Glass Window Kits for Beginners?
A useful beginner kit should include a glass cutter, running pliers, grozing pliers, copper foil, solder, flux, a soldering iron, and safety glasses. A stable cutting mat also matters. Tiny glass fragments can hide beneath paper. Choose kits with clear tool specifications, replacement guidance, and workable instructions. Some inexpensive kits omit ventilation advice. That is a serious weakness.
Prevent Blindness reports about 2.4 million eye injuries occur annually in the United States, and roughly 90% may be preventable. Eye protection is not decorative. Wear sealed safety glasses when scoring, breaking, or grinding glass. Use cut-resistant gloves carefully, because loose fabric can catch on tools. Keep children and pets away from the workbench. A small first-aid kit should remain within reach.
Soldering needs more discipline. Use a heat-resistant surface, wash hands afterward, and keep food away from the workspace. Local ventilation should move fumes away from your face, not across the room. OSHA’s eye and face protection standard, 29 CFR 1910.133, supports selecting protection against flying particles and chemical exposure. Beginners should compare the top ten kits by safety instructions, tool durability, and material transparency. My first setup would still include a fire-resistant mat, even when the kit excludes one. I once underestimated bench clutter; that mistake made every movement slower.
How to Use a Stained Glass Kit Step by Step
How to Use a Stained Glass Kit Step by Step
Stained glass kits make a complex craft feel manageable for beginners. The broader arts and crafts market reached about $44.8 billion in 2023, according to Grand View Research. That growth reflects stronger interest in hands-on hobbies, but simple tools still require careful technique.
Wear safety glasses and work in a ventilated area. Read every kit instruction before opening the materials. Choose a small pattern with fewer than ten pieces. Trace each shape onto glass, then score the surface with steady pressure. A light, controlled sound is better than forcing the cutter. Break the glass over a towel, not near your face. Smooth sharp edges with a grinder or abrasive stone.
Next, wrap the pieces with copper foil if your design requires it. Press the foil firmly around each edge. Apply a small amount of flux, then use the soldering iron carefully. Keep the iron moving. The solder should form a neat, slightly raised seam. Do not touch the metal tip, even after switching it off. OSHA guidance stresses hygiene and exposure control when soldering materials may contain lead. Wash your hands before eating, and keep food away from the workspace.
Tips: Practise on scrap glass first. Keep a damp sponge nearby. Mark confusing pieces with pencil. Take breaks when your hands tense. My first cuts would not have passed inspection, and that is useful feedback. Uneven seams often reveal rushed preparation, not poor artistic ability. Clean the finished panel gently, then inspect every joint under bright light.
Top 10 Stained Glass Window Kits for Beginners: Step-by-Step Workflow
The chart shows typical hands-on time for each stage of making a small stained glass panel with a beginner kit. Actual timing depends on the design, glass pieces, and experience level.
How to use the chart: Start with a simple pattern, score and break the glass carefully, smooth every edge, apply copper foil, assemble the pieces, and solder only in a well-ventilated workspace while wearing appropriate eye and hand protection.
